
Stork, part 1 — the build
We did not design the first aircraft we built, and that was deliberate: it is a Stork, designed by Szymon Wójcik and distributed by Flightory. This is what we chose, how long it took and what we learned printing it in Guatemala.
We said this blog would be about engineering: what we chose and why, what we measured and what broke. We are starting with the first of those. This is the first of three posts about our first aircraft: the build here, then the configuration and the first flights, and at the end a real application flying over the team.
Why we did not design our first aircraft
There is a well known way to fail at this: learning to design an airframe, to dial in foaming filament, and to tune a QuadPlane all at the same time. Those are three separate learning curves, and when something does not fly, none of the three is ruled out.
So we did not design the first aircraft. We printed it from a proven, documented design: the Stork, designed by Szymon Wójcik and distributed by Flightory. The design is theirs, not ours, and it is worth saying plainly: what we contribute in this first aircraft is the execution, not the design. The rule we set ourselves is simple: build and fly a printed VTOL that already works before attempting one of our own.
There is a second reason, and for us it weighs just as much. Someone else’s design, but a proven one, lets us put everything else to the test: the complete build chain here, in Guatemala. Sourcing the foaming filament, the carbon fiber tubes, the motors, the ESCs, the threaded inserts. Getting them into the country. Printing for weeks in our own workshop and finding out what can be had locally, what has to be imported, and how much time each thing costs. If that chain does not work, a design of our own is worth nothing: it cannot be built. We would rather find out where it breaks with an airplane we already know flies.
What the Stork is
A 3D printed fixed wing, pusher configuration, V tail. Wingspan of 1620 mm, length of 1000 mm, Selig S3021 airfoil, aspect ratio 8.3, and a center of gravity specified at 47 mm from the leading edge at the wing root. Total permitted weight runs from 1400 to 3100 g.
Those figures are from the designer’s manual. They are not our measurements, and when we measure our own we will say so.
What settled it for us is that the same design converts to VTOL: Flightory publishes a conversion pack that adds vertical takeoff and landing without changing the geometry of the wing. That was exactly what we were after —an aircraft that climbs vertically like a multirotor and, once up, flies like a fixed wing— and it is the concrete reason we chose this design and not another. The best of both worlds in a single airplane.
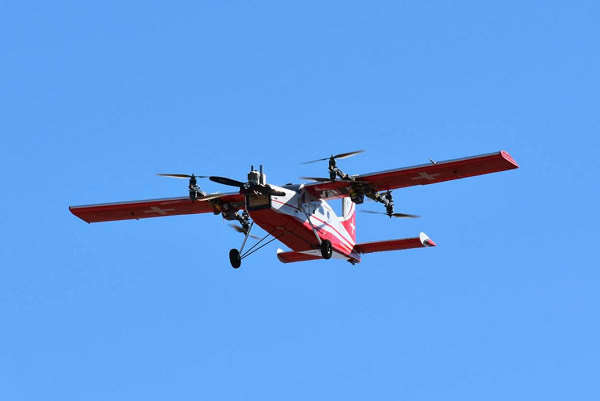
The configuration we are talking about, in flight. This is not our aircraft: it is someone else’s QuadPlane, shown here for the idea —the four motors that lift and the wing that holds.
Printing took two weeks
Two weeks end to end, leaving the printer running overnight.
The bottleneck is the LW-PLA, the foaming filament the skin parts are printed in: fuselage, wings and tail. It has to be printed very slowly for it to foam properly, so those parts are the ones that set the calendar. The rigid reinforcement parts, in PETG-CF, come out in a day or two per batch.
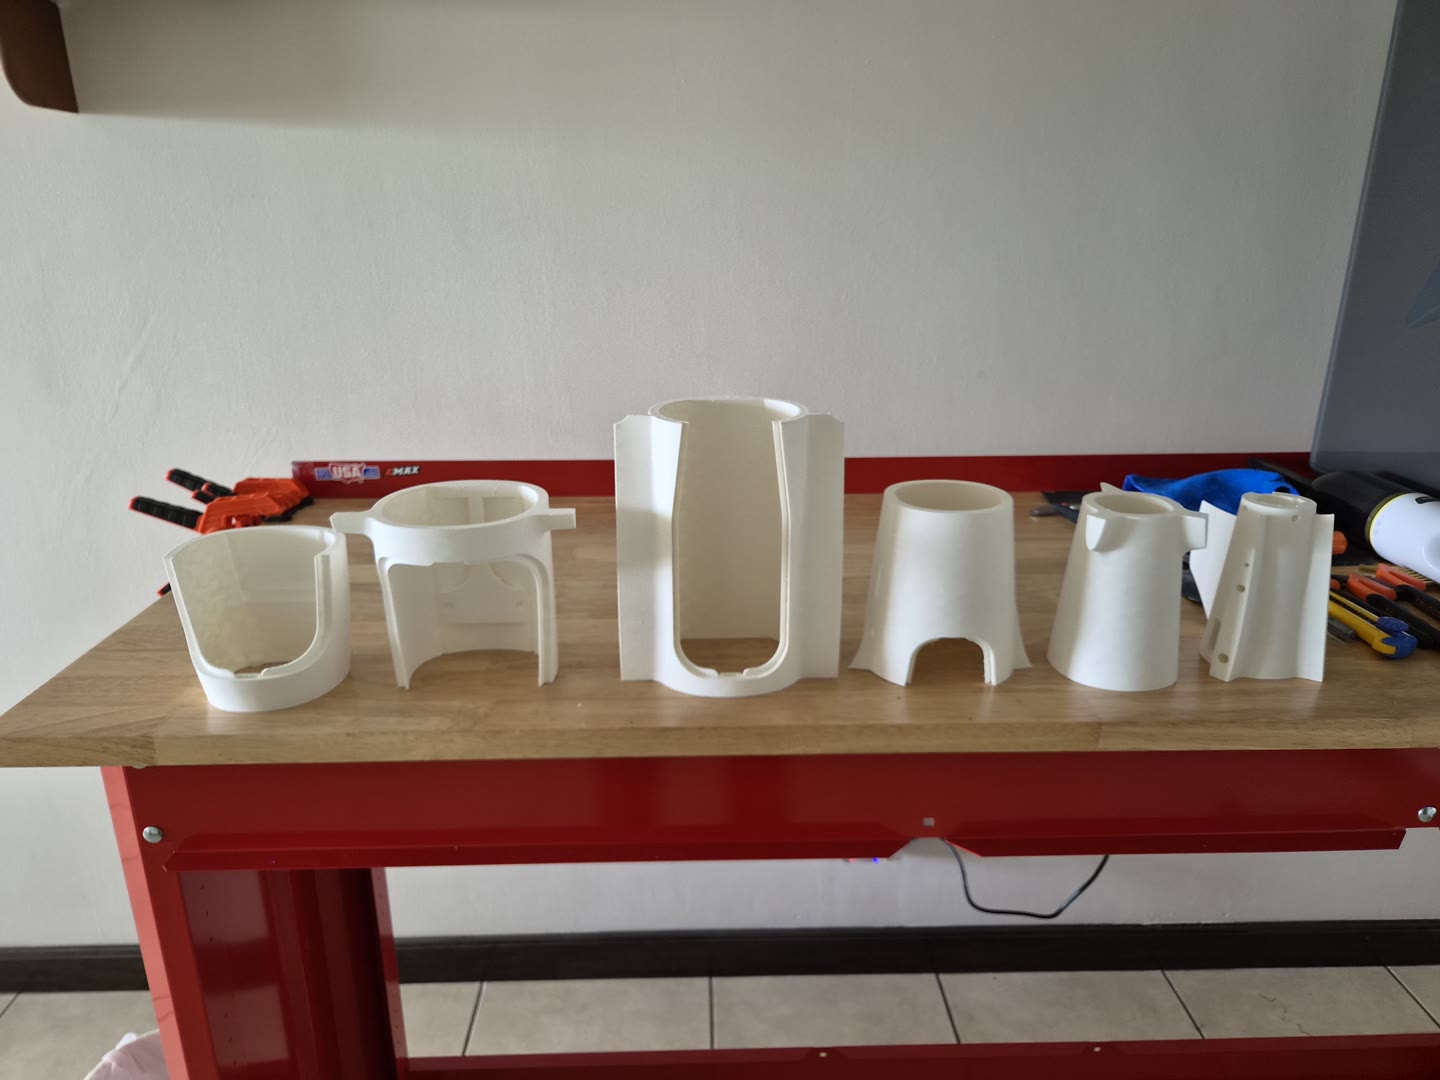
The fuselage comes off the printer in sections. These are the LW-PLA skin parts before bonding: thin wall, matte surface, and the texture the filament leaves as it foams.
The electronics are not the ones in the manual
These are the electronic components we chose for the Stork:
- Flight controller: Matek F405-Wing V2
- Lift ESC: XILO Stax V3 F4 50A 4-in-1
- Pusher motor ESC: Lumenier 51A BLHeli32, separate
- Lift motors: 4× EMAX E3 2807 1300KV with 7” propellers
- Pusher motor: Lumenier 2812 1150KV with a 9” propeller
- GPS and compass: BZGNSS M10
The flight controller is the clearest case. The SpeedyBee F405 Wing the manual recommends has been out of stock everywhere for a long time, with no word of a restock. The next good option at a similar price was the Matek F405-Wing V2, and that is the way we went.
It is a detail no manual can cover: the bill of materials of a published design ages with the market, and a part you cannot source is, in practice, a part that does not exist.
Straight to VTOL
The Stork has a conversion pack that turns it into a 4+1 QuadPlane: it replaces the inner wing section with a two piece structure, adds two square carbon fiber booms, and hangs four lift motors from them in a quad-X configuration, working alongside the pusher motor. The geometry of the wing does not change, so neither does the behavior in cruise.
This was deliberate, for two reasons. The first is that the VTOL version is the hard one: four lift motors, the transition between vertical and forward flight, and a whole set of parameters the plain fixed wing does not need. If the point of this first aircraft is to learn, it is better to learn the hard part on a design we already know flies.
The second is that we intend to build every one of our aircraft in a VTOL configuration. It combines what matters to us from both: the flexibility of taking off and landing vertically, and the cruise efficiency of a fixed wing. Above all, it makes it possible to take off almost anywhere, with no runway, no catapult, and nobody having to hand launch the airplane. Over the terrain we want to fly, that is the difference between being able to operate and not.
The bench test
On August 19 the aircraft was complete: fuselage, wings, V tail, the two booms with their four motors, all wired up and with the battery in place.
The first real test was a motor test, with no propellers, from QGroundControl. The point of that test is to confirm two things before there is anything spinning that can cut: that each channel moves the motor you think it does, and that each motor spins the way it should. All four came out correct. Two XILO channels, 1 and 3, had to be reversed in software. The diagonal check passed.
What is left before this flies, as it stands on our list: setting Q_ASSIST_SPEED and Q_TRANS_FAIL, confirming the pusher motor’s direction of rotation, binding and
calibrating the radio, calibrating GPS and compass, checking servo directions,
calibrating the accelerometer, and verifying the center of gravity at 47 mm. The
receiver, in fact, we have not bought yet.
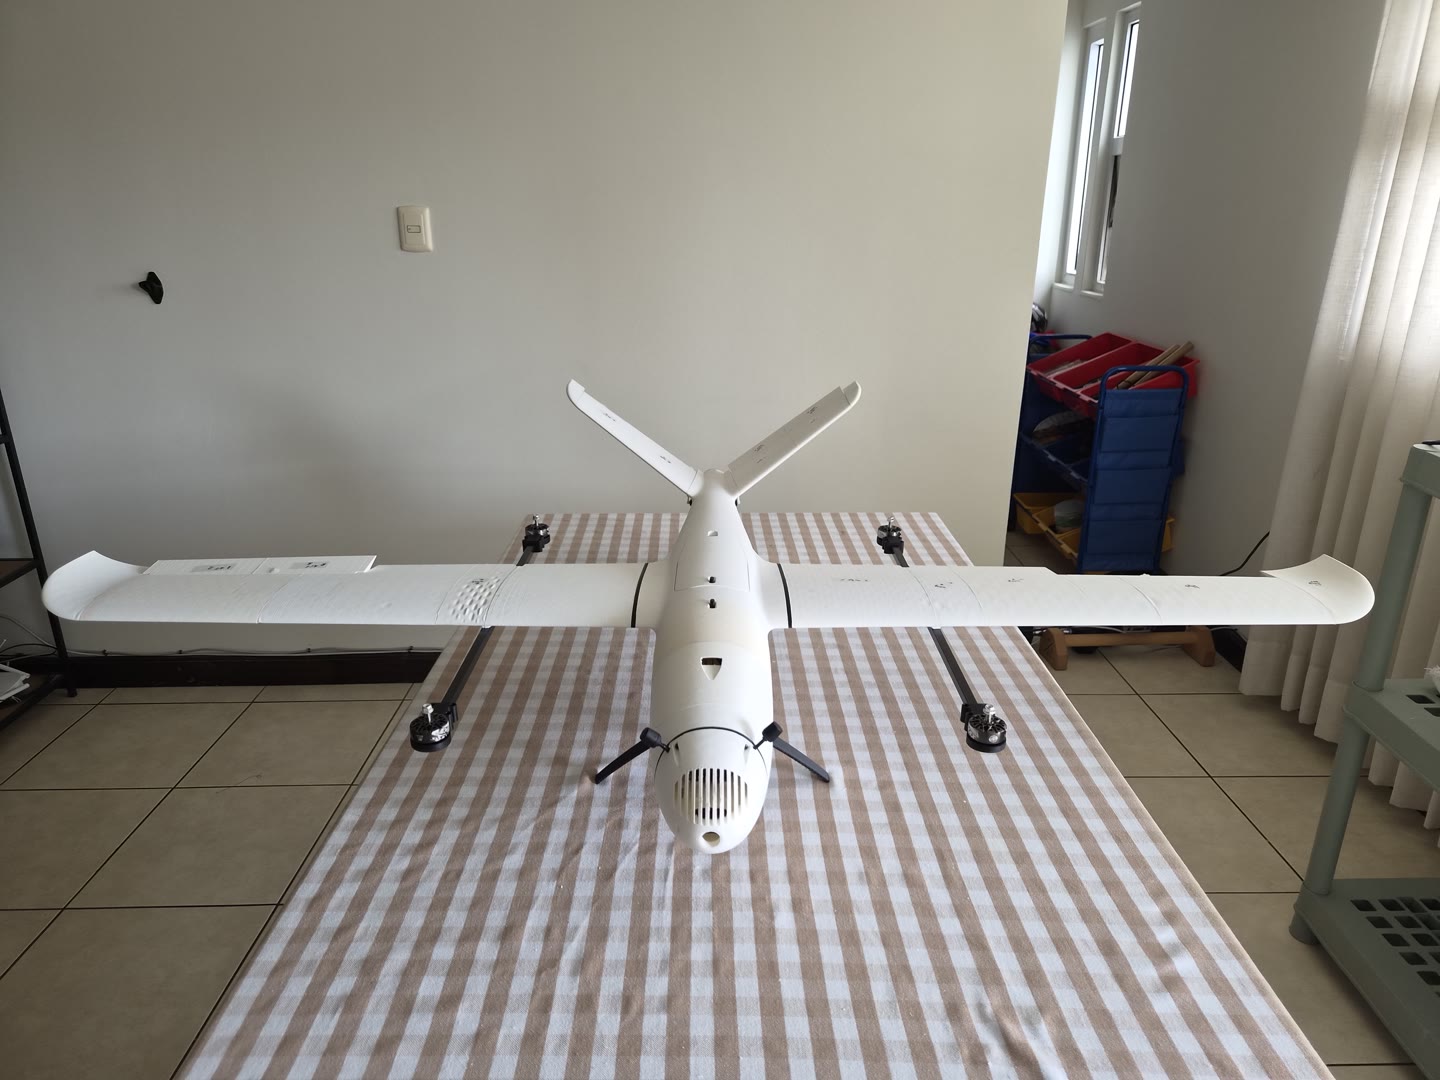
The finished airplane. Everything is assembled except the propellers.
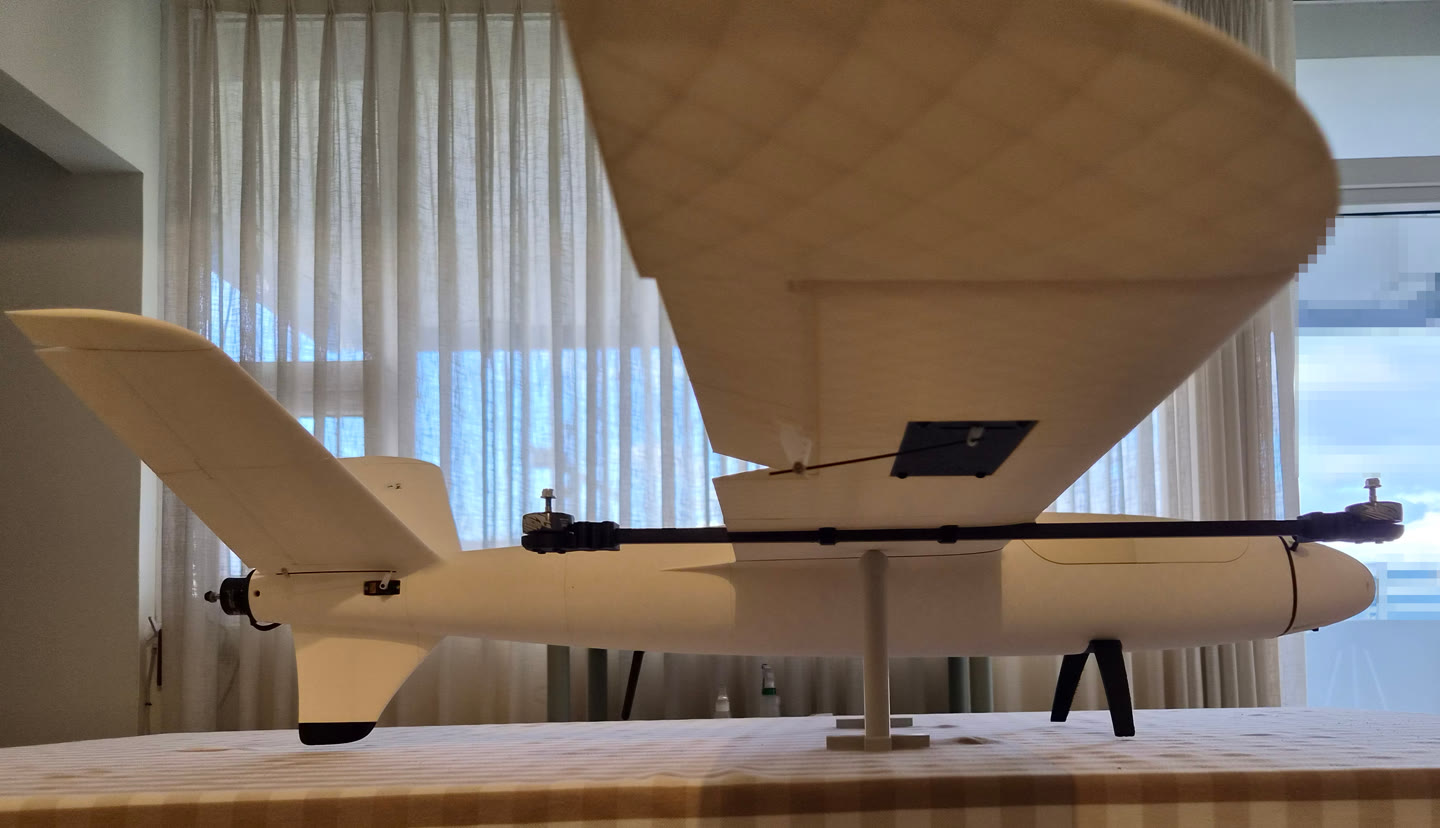
A quick center of gravity check, resting the airplane on a single point. The formal check against the manual’s 47 mm is still pending.
What we learned and what comes next
About the filament, first of all: LW-PLA rules the calendar. It only foams if it is printed very slowly, so it is not one more step in the process, it is the one that defines how long the process takes. It has to be calibrated beforehand —temperature tower, flow calibration— and even then the skin parts are the ones that decide how many weeks an aircraft takes. The PETG-CF, by contrast, gave us no trouble: one or two batches of a couple of days and done.
What comes now is ArduPilot. The pack ships a parameter file for QuadPlane, but it
is not a load and fly: the servo outputs of this aircraft have to be assigned,
everything has to be calibrated —radio, compass, accelerometer— and the Q_ parameter
set has to be understood, which is the one that governs vertical flight and the
transition. It is the part of the project that shows the least and decides the most.
And then, flying. Not all at once: hover first, then transition, then cruise, expanding the envelope little by little and with the flight log open from the very first attempt. That —the configuration and the first flights— is the second post in this series.